
Intro

Maybe you ask why somebody need weather station? And why do you not buy professional weather station?
Short answer: because I can.
Long answer: I love control over all things in my house, and I want to connect all of them to one smart network to work together. For example, it is really stupid to turn on the garden watering system when raining etc. So it will be part of my home control system (ykylo – more about them in future posts).
Hardware
3D Print
I want to design and print all parts of hardware but parts were not quality enough (my bad design, bad print etc.) and also 3D print materials are not good for long outdoor use. So I denied this option.
Buy just weather station hardware
So I was searching for stand-alone hardware and after few clicks I found it! (T110) – hardware for professional weather station WH1080 and WH1090 it cost just about 35$ and include most of electronic. Job almost did:)!
Measured units
Wind speed
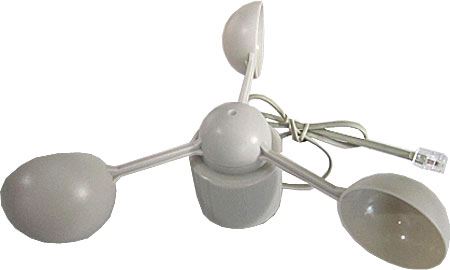
Kit includes cup anemometer, it works on the hall sensor principle, every rotation of anemometer are two “tick” of hall sensor. So it is quite easy to calculate wind speed from RPM.
circumference = 2*π*r
56,52cm = 6,28*9
so RPM*56,52/60 = wind speed per second
Wind direction
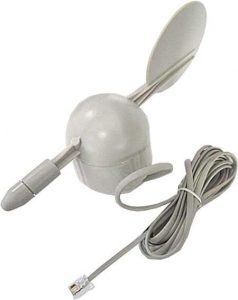
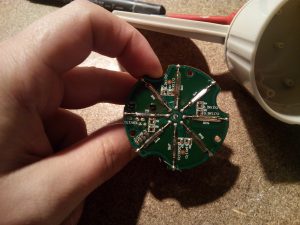
Wind direction sensor contains eight reel switch, a magnet in top part and eight different resistors, so it works like resistor divider. The only thing you need to do is measure voltage.
Rain sensor
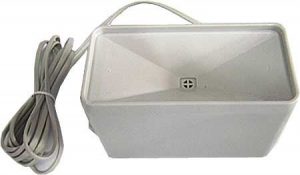
Type of rain sensor is “Tipping Bucket Rain Gauge”. It “ticks” every 0.2794mm of water. So I only just count of “ticks” per day and reset counter every midnight.
Temperature and humidity
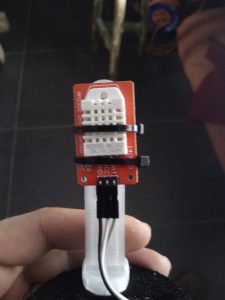
For temperature and humidity, I use DHT22, is placed inside ring cover so it is protected against rain but it is in wind path for good weather and humidity measurements.
It all for now, in next episodes I will talk about electronic parts, software, and other interesting stuff 🙂